How to Install Wall-Mounted Basins in Existing Concrete Walls
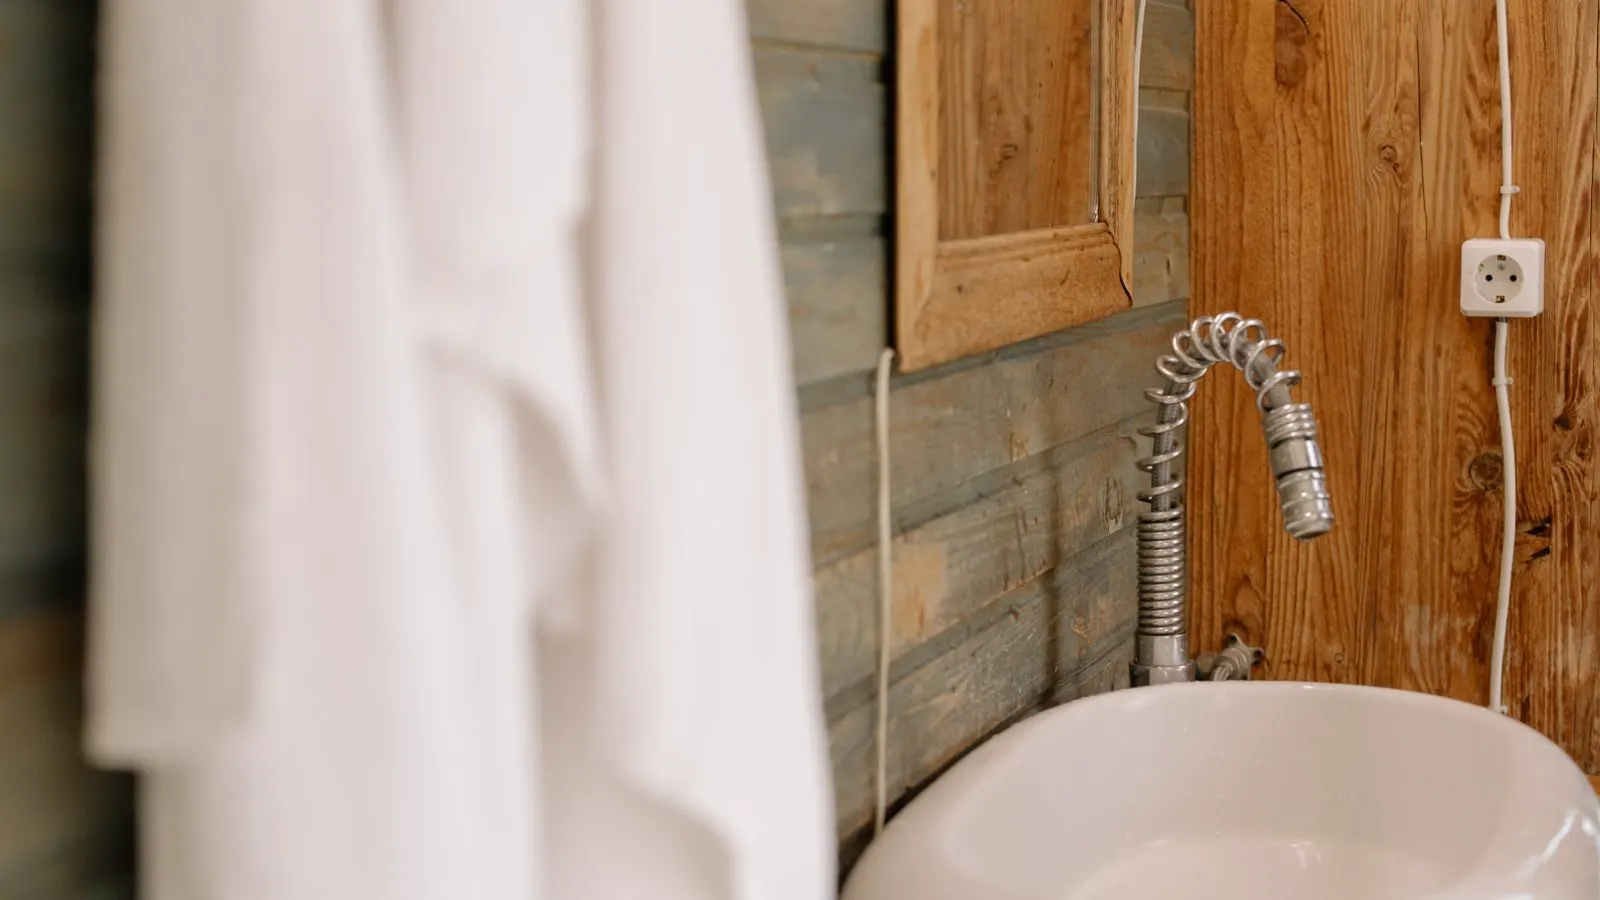
Wall-mounted basins in existing concrete walls require precise anchoring to avoid cracking. This guide covers the basin installation process, from locating hidden services to applying the correct wall mounting technique. It details the sanitary ware installation sequence needed to secure the fixture without altering the structure.
- Verify the wall's structural capacity and hidden service locations before drilling.
- Use expansion anchors rated for concrete and match the basin's specific mounting template.
- Apply even pressure during the wall mounting technique to prevent cracking the ceramic.
- Check the final level and drainage path before sealing the joints.
Fitting a wall-mounted basin into a finished concrete wall is a common task in retrofits and commercial fit-outs. The main challenge is not the basin itself, but the interface between the heavy ceramic unit and a substrate that may hide pipes or lack the expected density. A secure fit depends on accurate preparation, the right fixing hardware, and a disciplined installation sequence. This guide walks through the basin installation process for existing structures.
Is the Wall Suitable for Heavy Fixings?
Before touching a drill, you must confirm the wall can support the load. A wall-mounted basin is heavy, and the force increases when someone leans on the rim or brushes their teeth vigorously. Concrete blocks and solid concrete are ideal, but hollow block or thin render layers are not.
Tap the wall with a screwdriver. A solid, dull thud suggests dense concrete. A hollow, metallic sound indicates a cavity. If the wall has a thin plaster or render layer over masonry, you must drill through it to reach the structural element. Never anchor into a layer that is less than 100 millimeters thick, as the anchor will pull through the weak surface material.
Check the wall for previous damage. Hairline cracks are common in concrete, but a crack running vertically behind the basin area is a red flag. The vibration from drilling can widen the crack, and the weight of the basin can cause it to split further. If you find structural cracks, stop and assess the wall with a structural engineer before proceeding with any basin installation.
What Tools and Hardware Are Required?
The basin installation process requires specific tools that differ from standard domestic drilling. You need a masonry drill bit, a hammer drill, a level, a pencil, and a spirit level. For the hardware, you need expansion anchors or chemical anchors, depending on the concrete density.
Wall-mounted basins usually come with a specific mounting plate or bracket system. This template is critical. Do not substitute generic brackets unless they match the manufacturer’s specifications for hole spacing and load rating. The wall mounting technique relies on the bracket distributing the weight evenly across the wall surface.
You also need a mixing cup and a clean brush if using chemical anchors. Chemical anchors provide better grip in older or less dense concrete. They are slower to set but offer higher pull-out strength. Always check the manufacturer’s instructions for the specific type of concrete you are working with.
| Hardware Type | Best For | Installation Time | Strength in Dense Concrete |
|---|---|---|---|
| Standard Expansion Anchor | New, solid concrete walls | Immediate | High |
| Chemical Anchor | Older, cracked, or less dense concrete | 15-30 minutes | Very High |
| Sleeve Anchor | Thin render layers (rare) | Immediate | Low to Medium |
| Through-Bolt Fixing | Structural steel or timber backing | Immediate | High |
How Do You Locate Hidden Services?
This is the most critical step in any sanitary ware installation. Existing concrete walls in buildings often contain electrical cables, water pipes, or heating radiators behind the surface. Drilling into a live cable or a water pipe is dangerous and causes major damage.
Use a stud finder or a metal detector to scan the wall area where you plan to drill. Set the device to detect both ferrous and non-ferrous metals. Scan in a grid pattern, moving the device slowly. Mark any positive readings with tape.
Even if the detector shows no metal, exercise caution. In older buildings, services may not follow standard routes. Check for the location of the nearest water feed and drain stack. If you are installing in a commercial building, review the as-built drawings if available. If not, mark the area as “do not drill” until you have a clear path.
How Do You Mark and Drill the Holes?
Use the mounting template provided with the basin. Hold the template against the wall and ensure it is perfectly level. A level basin is not just aesthetic; it affects drainage and user comfort. Use a pencil to mark the drill holes through the template.
Remove the template and verify the marks. Use a hammer drill with a bit that matches the diameter of the anchors. The bit should be designed for masonry and concrete. Drill straight into the wall. Do not let the drill bit wander. Use a guide sleeve if the wall is rough.
Drill the holes to the depth specified in the anchor instructions. Usually, this is slightly deeper than the anchor length. Use a brush or vacuum to remove all the concrete dust from the holes. Dust in the hole reduces the grip of the anchor and weakens the fix.
How Do You Fix the Brackets?
Now you apply the wall mounting technique. If using expansion anchors, insert them into the holes. Use a hammer to seat the anchors flush with the wall surface. Do not over-tighten. The anchor sleeve should expand inside the hole to grip the concrete.
If using chemical anchors, insert the tube into the hole. Push it in fully. Insert the anchor rod and twist it until it engages. Let the resin cure for the full time specified by the manufacturer. This usually takes at least 15 minutes, but 30 minutes is safer. Do not skip this waiting period.
Once the anchors are set, fix the mounting bracket to the wall. Use the washers and nuts provided. Tighten them evenly. Do not use a power tool with a high torque setting, as this can strip the threads or crack the concrete. Use a hand spanner and apply firm, even pressure.
Check the bracket with a level. It must be perfectly horizontal. If it is not, you may need to shim it, but this is a sign that your drilling was inaccurate. In most cases, you should re-drill if the bracket is not level.
How Do You Mount the Basin?
Place the basin onto the brackets. The basin usually has a specific lip or recess that fits over the bracket arms. Align it carefully. Do not force it. If it does not fit, check the bracket position.
Once the basin is seated, fix it to the brackets using the provided screws. These are often small, high-strength screws. Tighten them gently. The goal is to hold the basin securely without cracking the ceramic. Apply pressure to the rim of the basin, not the center, to distribute the force.
Use a spirit level to check the basin front-to-back and side-to-side. A wall-mounted basin should be level in both directions. If it is not, loosen the fixing screws, adjust the position slightly, and retighten.
How Do You Complete the Installation?
After the basin is fixed, connect the drainage and water supply. Use a flexible hose or rigid pipe, depending on the layout. Ensure the connection is tight but not over-tightened. A cracked ceramic joint is a common failure point.
Apply a high-quality silicone sealant to the joint between the basin and the wall. This hides the fixing points and prevents water from getting behind the basin. Use a clear or matching color sealant. Smooth the bead with a wet finger or a silicone tool.
Wait for the silicone to cure before using the basin. Usually, this takes 24 hours. During this time, check the fixings again. They should be tight.
Common Mistakes to Avoid
- Ignoring the wall composition: Drilling into a thin render layer without checking for the structural element behind it.
- Skipping the service scan: Hitting a hidden pipe or cable, causing water damage or electrical hazards.
- Using the wrong anchors: Choosing a weak anchor for a heavy basin or a dense concrete wall.
- Over-tightening the screws: Cracking the ceramic basin or stripping the threads in the mounting bracket.
- Poor drainage alignment: Not checking the slope of the basin, leading to standing water.
Final Verification Step
Before handing over the job or using the basin, perform a final check. Fill the basin with water to the top. Leave it for 10 minutes. Check for leaks at the drain connection and the water supply. Check the wall behind the basin for any cracks or movement.
Press gently on the rim of the basin. It should feel solid. There should be no movement or creaking. Wipe away any water and let the area dry. Inspect the silicone seal for any gaps.
A successful basin installation is secure, level, and leak-free. The wall mounting technique is sound. The sanitary ware installation is complete and ready for daily use.
Frequently asked questions
Can I install a wall-mounted basin in a hollow block wall?
Generally, no. Hollow block walls lack the density and strength needed to hold a heavy basin securely. You would need a structural backing board or to use a through-bolt fixing that spans the block.
What if the concrete wall has a thin layer of plaster?
You must drill through the plaster to reach the concrete. If the plaster is less than 10 millimeters thick, the anchor will not grip well. Use a chemical anchor or a larger diameter expansion anchor to ensure a secure hold in the concrete behind.
How do I know if my anchors are set correctly?
After installation, the anchor should be flush with the wall surface and not protrude. When you tighten the bracket, the anchor should not spin or pull out. A hand spanner should provide firm resistance without slipping.
Do I need to use chemical anchors in all concrete walls?
No. Chemical anchors are recommended for older, cracked, or less dense concrete. For new, solid concrete, standard expansion anchors are usually sufficient and faster.
How long should I wait before using the basin after installation?
Wait at least 24 hours for the silicone sealant to cure fully. You can check the fixings immediately, but using the basin before the sealant is set may cause water to seep behind the unit.