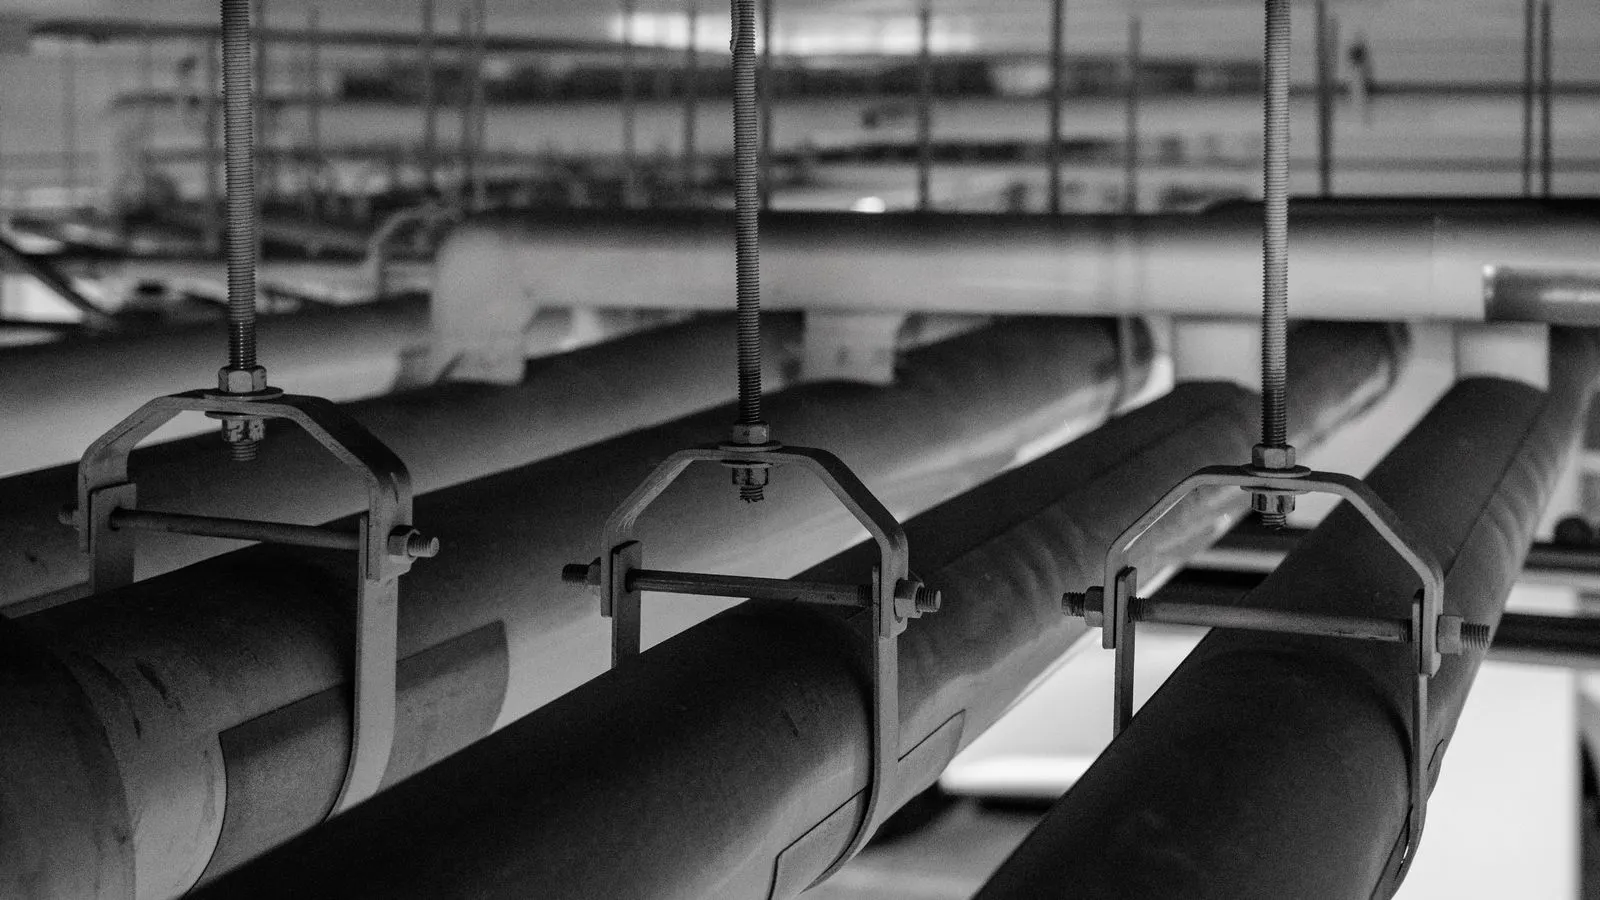
How to Specify Brass Fittings for High-Flow Systems

Specify brass fittings for high flow systems by checking pressure ratings, verifying compatibility with water chemistry, and selecting components rated for thermal cycling. This guide walks through selection, testing, and installation to prevent leaks and corrosion.
- Check the maximum pressure rating of every brass component before specifying it for a high flow system.
- Match the brass alloy and finish to the local water chemistry to prevent corrosion and dezincification.
- Use pressure testing and flow verification after installation to catch installation errors before the system goes live.
- Document all component specifications and test results to support warranty claims and future maintenance.
- Avoid mixing incompatible materials in the same run, as galvanic corrosion can damage connections and fittings.
Understanding the Load on High Flow Bathroom Plumbing
High flow bathroom plumbing places unusual stress on standard residential fittings. A bathroom with multiple fixtures running at once, such as a large shower, a bidet, and a hand basin, can create pressure spikes and sustained flow rates that exceed the design assumptions of basic components. Brass fittings handle these conditions well when selected correctly, but only if the specification accounts for pressure, temperature, and water quality.
The starting point is identifying the maximum flow rate and pressure in the system. High flow does not always mean high pressure, but the two often travel together. A booster pump or a large municipal supply can push water through a short run of fittings at a velocity that causes water hammer and mechanical vibration. Brass is a hard metal, but it is not immune to fatigue, especially at threaded joints and flanged connections. If the fittings are rated for a lower pressure than the system can produce, they will fail prematurely, usually at the threads or at a crack in the body.
Professional buyers should treat the specification as a set of constraints. Each brass fitting must meet a minimum pressure rating, a maximum operating temperature, and a compatibility standard for the water it will carry. Ignoring any one of these creates a weak point in the system. A fitting that passes a static pressure test but fails under a rapid pressure change can still leak, even if the initial rating looks acceptable.
Verifying Pressure and Flow Ratings for Brass Components
The first step in specifying brass fittings is confirming the rated working pressure for each part. Manufacturers provide pressure ratings in bar or psi, but the number on the datasheet is only useful if it matches the actual operating conditions. A typical domestic supply system may operate at five to eight bar, but a commercial or mixed-use building can reach higher levels, especially if a pump is involved.
Check the rating at the maximum temperature the system will see. Brass loses some of its pressure capacity as temperature rises. A fitting rated for ten bar at cold water may only be safe at seven bar when the water is at sixty degrees Celsius. High flow showers and underfloor heating can push temperatures well above the comfort level, so the thermal rating is not a detail. It is a core part of the selection.
The flow rate also matters. A fitting with a small bore may be rated for high pressure but will create turbulence and noise when the flow rate is high. For shower lines and mixer bodies, specify components with a bore that matches the intended flow. A narrower bore increases the velocity of the water, which can cause vibration and accelerate wear at the internal seals and ball bearings.
When comparing components, look at the flow coefficient, often expressed as Kv or C. A higher coefficient means the component allows more flow for the same pressure drop. For high flow systems, a low Kv value is a red flag. It means the fitting will restrict the water and force the pump or supply line to work harder. This can raise energy costs and shorten the life of the pump.
Matching Brass Alloy and Finish to Water Chemistry
Water quality is the second major factor in the longevity of brass fittings. Different brass alloys behave differently in different water conditions. A fitting that performs well in soft, slightly acidic water may corrode quickly in hard, alkaline water. The alloy composition matters, and the finish matters just as much.
Dezincification is a common failure mode in brass. It occurs when the zinc component of the alloy leaches out, leaving a spongy, copper-rich residue that weakens the structure. This is more likely in low-sodium, low-sulfate water, but it can happen in many environments. If the local water has a known tendency toward dezincification, specify a dezincification-resistant alloy or a different material altogether.
The surface finish also affects performance. A polished finish can hide early signs of corrosion, but it does not prevent it. A passivated or chromate-converted finish offers better resistance to chemical attack, especially in areas with chlorinated water or where cleaning agents are used. For high flow systems, the finish should be compatible with any water treatment chemicals in use.
Galvanic corrosion is another concern when mixing materials. Brass is often paired with copper, steel, or plastic in bathroom plumbing. If the connection is not properly isolated, the dissimilar metals can create an electrochemical reaction that corrodes the weaker material. Use dielectric unions or specify components with compatible materials to avoid this problem.
Selecting the Right Thread and Connection Type
The connection type determines how the fitting will be installed and how reliable the joint will be. High flow systems are more sensitive to connection errors than low flow systems, so the thread and connection method must be chosen carefully. A loose thread or a misaligned flange can leak under pressure, and the leak can be difficult to detect until the damage is done.
Threaded connections are common in brass fittings because they are easy to install and service. However, threaded joints are only as good as the seal and the alignment of the threads. For high flow applications, use a thread sealant that is rated for the operating temperature and pressure. PTFE tape is common, but it can shift over time if the joint vibrates. A thread sealant paste or a pre-applied sealant may be more reliable in these conditions.
Flanged connections are used where large bores or high flow rates require a larger diameter. Flanged joints are easier to inspect and test for leaks, but they require precise alignment and the correct torque on the bolts. A flanged joint that is not torqued evenly can develop a leak at one side of the flange while the other side remains tight. This is a common installation error in high flow systems.
Soldered or brazed connections are also used in brass plumbing, particularly in older systems or where a permanent joint is required. These joints can be very reliable, but they require a high level of skill to install correctly. A poor solder joint can be weak even if it looks solid on the surface. For high flow systems, avoid soldered joints unless the installer has proven experience with the specific alloy and water chemistry.
Step-by-Step Specification and Installation Process
The specification and installation of brass fittings for high flow systems is a sequence of checks. Skipping any step can create a failure point that is hard to detect. The process below is designed for a professional buyer who is specifying the components and overseeing the installation.
- Identify the maximum pressure and flow rate for the system. This is the baseline for every subsequent decision.
- Select brass fittings with a pressure rating at least one bar higher than the maximum operating pressure. Add the safety margin to account for pressure spikes.
- Check the flow coefficient of each component to ensure it does not restrict the intended flow rate.
- Match the brass alloy and finish to the local water chemistry. If the water is aggressive, specify a corrosion-resistant alloy.
- Choose the connection type based on the bore size and the access for installation. Threaded, flanged, or brazed.
- Specify the thread sealant or gasket material that is compatible with the operating temperature and pressure.
- Plan the layout to minimize the number of bends and restrictions. A straighter run of pipe reduces the pressure drop and the stress on the fittings.
- Install the fittings according to the manufacturer’s torque specifications. Use a torque wrench for flanged and threaded joints.
- Pressure test the completed system before connecting the water supply. Hold the test pressure for the period specified by the local code.
- Run the system at full flow and check for leaks, noise, and vibration. Adjust the flow restrictors if necessary.
Each step is a checkpoint. If a fitting fails the pressure rating in step two, it does not matter how well it is installed. If the alloy is wrong in step four, the joint will corrode no matter how tight the thread is. The sequence matters because each step builds on the last.
Common Mistakes When Specifying Brass Fittings for High Flow Systems
The most common mistake is selecting fittings based on appearance or price rather than on the pressure and flow ratings. A cheap brass fitting may look identical to an expensive one, but it may be made from a lower grade alloy or have a smaller bore. The price difference is small compared to the cost of a leak or a repair.
Another frequent error is ignoring the thermal rating. A fitting that is rated for cold water pressure may fail when the water is hot. High flow showers and underfloor heating can push temperatures well above the comfort level, so the thermal rating is not a detail. It is a core part of the selection.
A third mistake is mixing incompatible materials in the same run. Brass, copper, steel, and plastic can all be used in bathroom plumbing, but they do not always play well together. Galvanic corrosion can damage the weaker metal, and the joint may leak or corrode over time. Use dielectric unions or specify components with compatible materials to avoid this problem.
A fourth mistake is underestimating the effect of water hammer. High flow systems are more prone to water hammer because the water velocity is higher. When a valve closes quickly, the pressure spike can be several times the normal operating pressure. Specify fittings that are rated for the maximum pressure spike, not just the normal operating pressure.
Final Verification and System Testing
The final step is to verify that the system works as intended. This is not just a formality. It is the point where specification meets reality. A system that passes a static pressure test can still fail under dynamic conditions, such as a rapid change in flow or a pressure spike.
Pressure test the system before connecting the water supply. Hold the test pressure for the period specified by the local code. A common test is to hold the pressure at one and a half times the maximum operating pressure for a period of time. If the pressure drops, there is a leak. If the pressure holds, the system is ready for water.
After connecting the water, run the system at full flow and check for leaks, noise, and vibration. Open all the fixtures at once and watch the pressure gauge. If the pressure drops significantly, the system may be too large for the supply, or there may be a restriction in the fittings. Adjust the flow restrictors if necessary.
Listen for noise. A high flow system should run smoothly. If there is a knocking or hammering sound, it may be water hammer. Check the pressure and the speed at which the valves close. A slow-closing valve or a pressure reduction valve can reduce the hammering.
Document the test results. Record the pressure, the flow rate, the temperature, and the date of the test. Keep the documentation with the maintenance records. If a fitting fails in the future, the test results will help identify the cause and support a warranty claim.
Table: Brass Fitting Selection Criteria for High Flow Systems
| Component | Pressure Rating | Flow Coefficient | Alloy | Connection Type |
|---|---|---|---|---|
| Shower valve | 10 bar or higher | High Kv | Dezincification-resistant | Threaded or flanged |
| Mixer body | 10 bar or higher | Medium to high Kv | Standard brass | Threaded |
| Pipe coupling | 12 bar or higher | N/A | Standard brass | Threaded or brazed |
| Pressure reducing valve | 15 bar or higher | High Kv | Brass with rubber diaphragm | Threaded |
| Flange adapter | 10 bar or higher | N/A | Brass with rubber gasket | Flanged |
| Thread sealant | Rated for operating temperature | N/A | PTFE or paste | N/A |
Frequently asked questions
What is the minimum pressure rating for brass fittings in a high flow bathroom system?
The minimum pressure rating should be at least one bar higher than the maximum operating pressure of the system. This safety margin accounts for pressure spikes and thermal expansion.
How do I know if the brass alloy is compatible with the local water?
Check the local water quality report for pH, hardness, and chloride content. If the water is aggressive, specify a dezincification-resistant alloy or a different material.
Can I mix brass and copper fittings in the same run?
Yes, but only if the connection is properly isolated or if the materials are compatible. Galvanic corrosion can occur if the dissimilar metals are in direct contact, so use a dielectric union or a compatible gasket.
What is the best connection type for a high flow brass fitting?
The best connection type depends on the bore size and the access for installation. Threaded connections are common for small bores, while flanged connections are better for large bores and high flow rates.
How do I test a high flow bathroom system after installation?
Pressure test the system before connecting the water supply. Hold the test pressure for the period specified by the local code. After connecting the water, run the system at full flow and check for leaks, noise, and vibration.